
A pre-shipment inspection can produce an impressive folder of photographs and still fail to answer the buyer’s main question: does the inspected production lot meet the agreed requirements well enough to release? For hardware importers, that answer depends on more than the inspector’s experience. The lot, sampling plan, defect definitions, checks and decision rules must all be established before the visit.
This guide explains how to prepare a practical final inspection for mixed hardware orders, including hand tools, wire products, nails and retail packs. It focuses on inspection design and release decisions. It does not replace product-specific safety testing, regulatory conformity work or professional statistical advice.

1. Define the inspection lot before selecting samples
A sampling result only describes the lot from which the sample was selected. State which purchase order, supplier, factory, SKU, production dates and quantities belong to the lot. Record how much production is complete and packed when the inspection starts. If unfinished or uncounted goods are added later, they were not represented by the original sample.
Do not merge unlike products merely to create a convenient total. A shipment containing hoe heads, handled shovels, nails and mesh has different specifications and failure modes. The inspection booking should identify the quantity and carton count for each SKU, plus any sensible lot separation by production line, material batch or packing revision.
Mixed cartons also need a defined unit. Depending on the question, an inspection unit may be one tool, one retail pack or one master carton. State which level is used for product defects, quantity checks and packaging checks. Otherwise one damaged carton containing many good items can be counted inconsistently.
2. Make random selection possible
The factory should present completed goods so the inspector can select samples across the lot, rather than receive a prepared table of perfect pieces. Carton groups need visible SKU identity and accessible rows, levels and positions. Selection from the front row alone can miss variation elsewhere in the lot.
Record the carton locations or selection method and keep selected goods under control during the inspection. When practical, draw from different production times and packing positions. The aim is not theatrical randomness; it is to reduce selection bias and make the sample reasonably representative of the declared lot.
ASQ defines sampling as selecting elements from a target population or product lot so conclusions can be drawn about that population. Its guidance also notes bias, dispersion and non-reproducibility as sampling risks. A large sample chosen by the supplier can therefore be less informative than a properly selected smaller sample.
3. Use AQL terminology correctly
Acceptance sampling is a decision system: inspect a sample and use a specified plan to accept or not accept a lot. ISO 2859-1:2026 covers sampling schemes indexed by acceptance quality limit for lot-by-lot inspection, while ISO 28590 introduces the wider ISO 2859 series.
AQL is not simply “the allowed percentage of bad pieces in this shipment.” ASQ defines the acceptance quality limit in the context of a continuing series of lots and a satisfactory process average. The selected standard, lot size, inspection level and AQL lead to a sample size and acceptance and rejection numbers. Use the current authorized tables or a competent inspection provider; do not reconstruct the plan from an internet image with an unknown edition.
The acceptance number is the largest observed count permitted for the applicable defect class in the inspected sample. The rejection number is the count that triggers a non-accept decision under that plan. Those numbers do not estimate every defect in the shipment with certainty. Sampling always carries producer and consumer risks.
A buyer must choose the plan before inspection, based on product risk, order history, customer requirements and the applicable contract. Copying a commonly advertised AQL value into every hardware order is not a risk assessment. The sampling plan should also say whether normal, tightened or another inspection status applies where the governing scheme uses switching rules.
4. Write defect classes for the actual hardware
Terms such as critical, major and minor only work when the buyer defines how actual findings are classified. ASQ notes that defect classifications require careful preparation and tailoring to the sampled product. A scratch, loose handle and incorrect safety marking do not have the same consequence.
- Critical: a condition that creates an unacceptable safety or mandatory-compliance risk under the agreed definition.
- Major: a defect likely to cause functional failure, rejection by the intended customer, serious assembly difficulty or a material mismatch with the order.
- Minor: a limited departure that does not materially reduce intended function but falls outside the agreed workmanship standard.
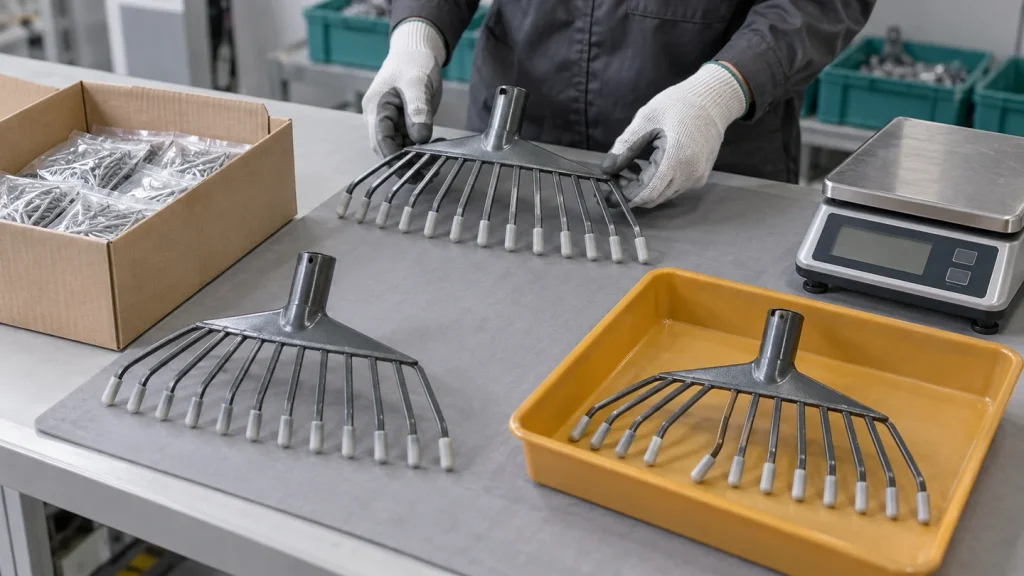
These are working descriptions, not universal legal definitions. Build a product-specific defect list with photos or diagrams where useful. For a rake, examples may address missing or badly bent tines, loose joints, dimensions and finish. For nails, the list may cover wrong size, malformed heads, corrosion, pack quantity and mixed product. The classification must reflect the intended market and approved specification.
A “zero acceptance” rule for a critical class still does not prove that no critical defect exists anywhere in the lot. It means none was accepted in the sample under the stated plan. High-risk features may require process controls, certification, laboratory testing or broader verification beyond a routine final random inspection.
5. Separate visual inspection, measurements and tests
An inspection checklist should show what will be checked on every sampled unit and what will be checked on a smaller defined subset. Visual workmanship, dimensions, weight, pack count, labeling, assembly and functional checks can require different equipment and sample quantities.
For each measurement, state the characteristic, nominal requirement, tolerance, location, instrument and recording rule. Confirm that instruments are suitable and within their required calibration or verification status. A photograph of a measuring tool touching a product is not a result unless the point, reading and requirement are traceable.
For functional checks, define the method and acceptance criterion. Do not ask inspectors to improvise impact, pull, cutting or load tests on site. Potentially destructive or safety-relevant testing needs an approved method, suitable fixture, competent operator and safe environment. Laboratory reports must identify the tested product and revision.
The hardware sample approval guide explains how an approved reference and specification work together. At final inspection, the current approved revision should be available, but visual comparison with a golden sample must not replace measurable or testable requirements.
6. Check quantities and packaging as controlled requirements
Product sampling does not automatically verify the total shipment quantity. Reconcile the factory’s finished-goods count, carton count and packing list, then perform defined carton and pack checks. Record missing, excess or mixed units separately from workmanship defects where the decision rules require it.
Select master cartons for inner-pack verification. Check product identity, assortment, unit count, protective materials, carton condition and marks against the approved packing specification. Weigh selected cartons where gross weight is a receiving or freight control, but define the scale and tolerance first.
For mixed loads, keep the SKU-to-carton relationship visible in the report. Our private-label packaging guide covers barcode, carton mark and receiving controls in more detail. The inspection should verify that approved system, not invent a replacement on the inspection day.
7. Make the report auditable
A useful report identifies the declared lot, presented quantity, sampled quantity, selected cartons, specifications and revision, inspection plan, defect counts by class, individual test results, packaging findings and unresolved limitations. Photographs should support those facts rather than substitute for them.
Include clear images of representative conforming units as well as every finding that affects the decision. Connect each defect photo to the SKU and sample number. Avoid a gallery of close-ups with no scale, product identity or result. Record when a test could not be completed and why.
SGS describes final random inspection as one checkpoint within a broader quality process and states that it uses defined AQL criteria. QIMA likewise explains that sample size and thresholds depend on the lot and chosen plan. Neither approach turns a final inspection into a guarantee of every unit.
8. Keep the release decision with the authorized buyer
The inspector should report facts and apply the stated criteria. The buyer or other authorized party decides whether to release, hold, reject, sort or rework the lot under the commercial agreement. A report marked “pass” should not automatically authorize shipment if mandatory documents are missing, the presented quantity was incomplete or an agreed test remains outstanding.
Define the response to a non-accept result before problems arise. Require segregation of affected goods, root-cause review, corrective action and evidence of rework. A re-inspection should use an agreed plan and newly selected samples from the corrected lot; checking only the previously failed pieces does not demonstrate the condition of the rest.
Any concession should be written, SKU-specific and lot-specific. State the accepted deviation, quantity, commercial treatment and who approved it. Do not silently change the master specification to make one shipment appear compliant. Future orders should continue to use the controlled requirement unless a formal revision is approved.
A practical inspection brief
Before booking an inspector, give them a controlled brief containing:
- purchase order, supplier, factory, SKUs, lot definitions and presented quantities;
- approved specifications, samples, artwork and revision status;
- sampling standard, edition, inspection level, AQLs and defect classes;
- SKU-specific checklist, measurement locations and test methods;
- pack-count, carton, marking and weight checks;
- reporting requirements, photo traceability and limitations;
- hold, release, corrective-action and re-inspection authority.
A strong pre-shipment inspection does not promise perfect production. It creates a disciplined, reviewable decision based on a defined lot, representative sample and requirements written before the inspector arrives. That is far more useful than a thick report whose conclusion cannot be reproduced.
Images are original AI-generated editorial illustrations of inspection workflows, not photographs of an audited factory or proof that a specific lot passed inspection.